01 — CAD Designing
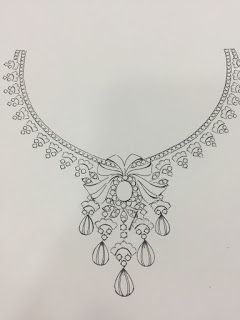
Where a Sketch Earns Its Shape
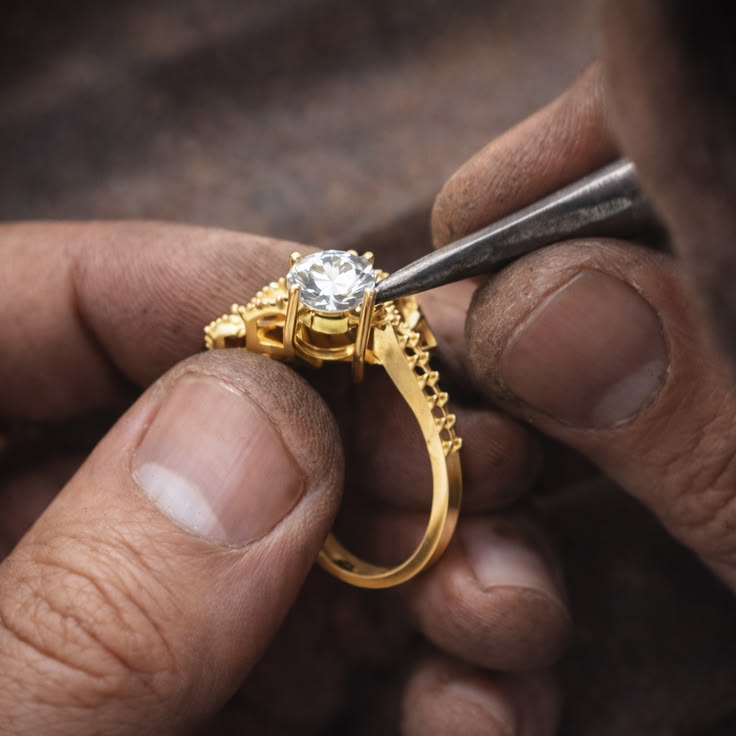
Every design starts as a pencil line, not a mouse click. Once the sketch holds up, it moves into CAD, where our designers work the curves and clearances down to a tenth of a millimetre — long before any silver gets involved.
02 — Die & Mould Making
Carving a Shape That Can Repeat Itself
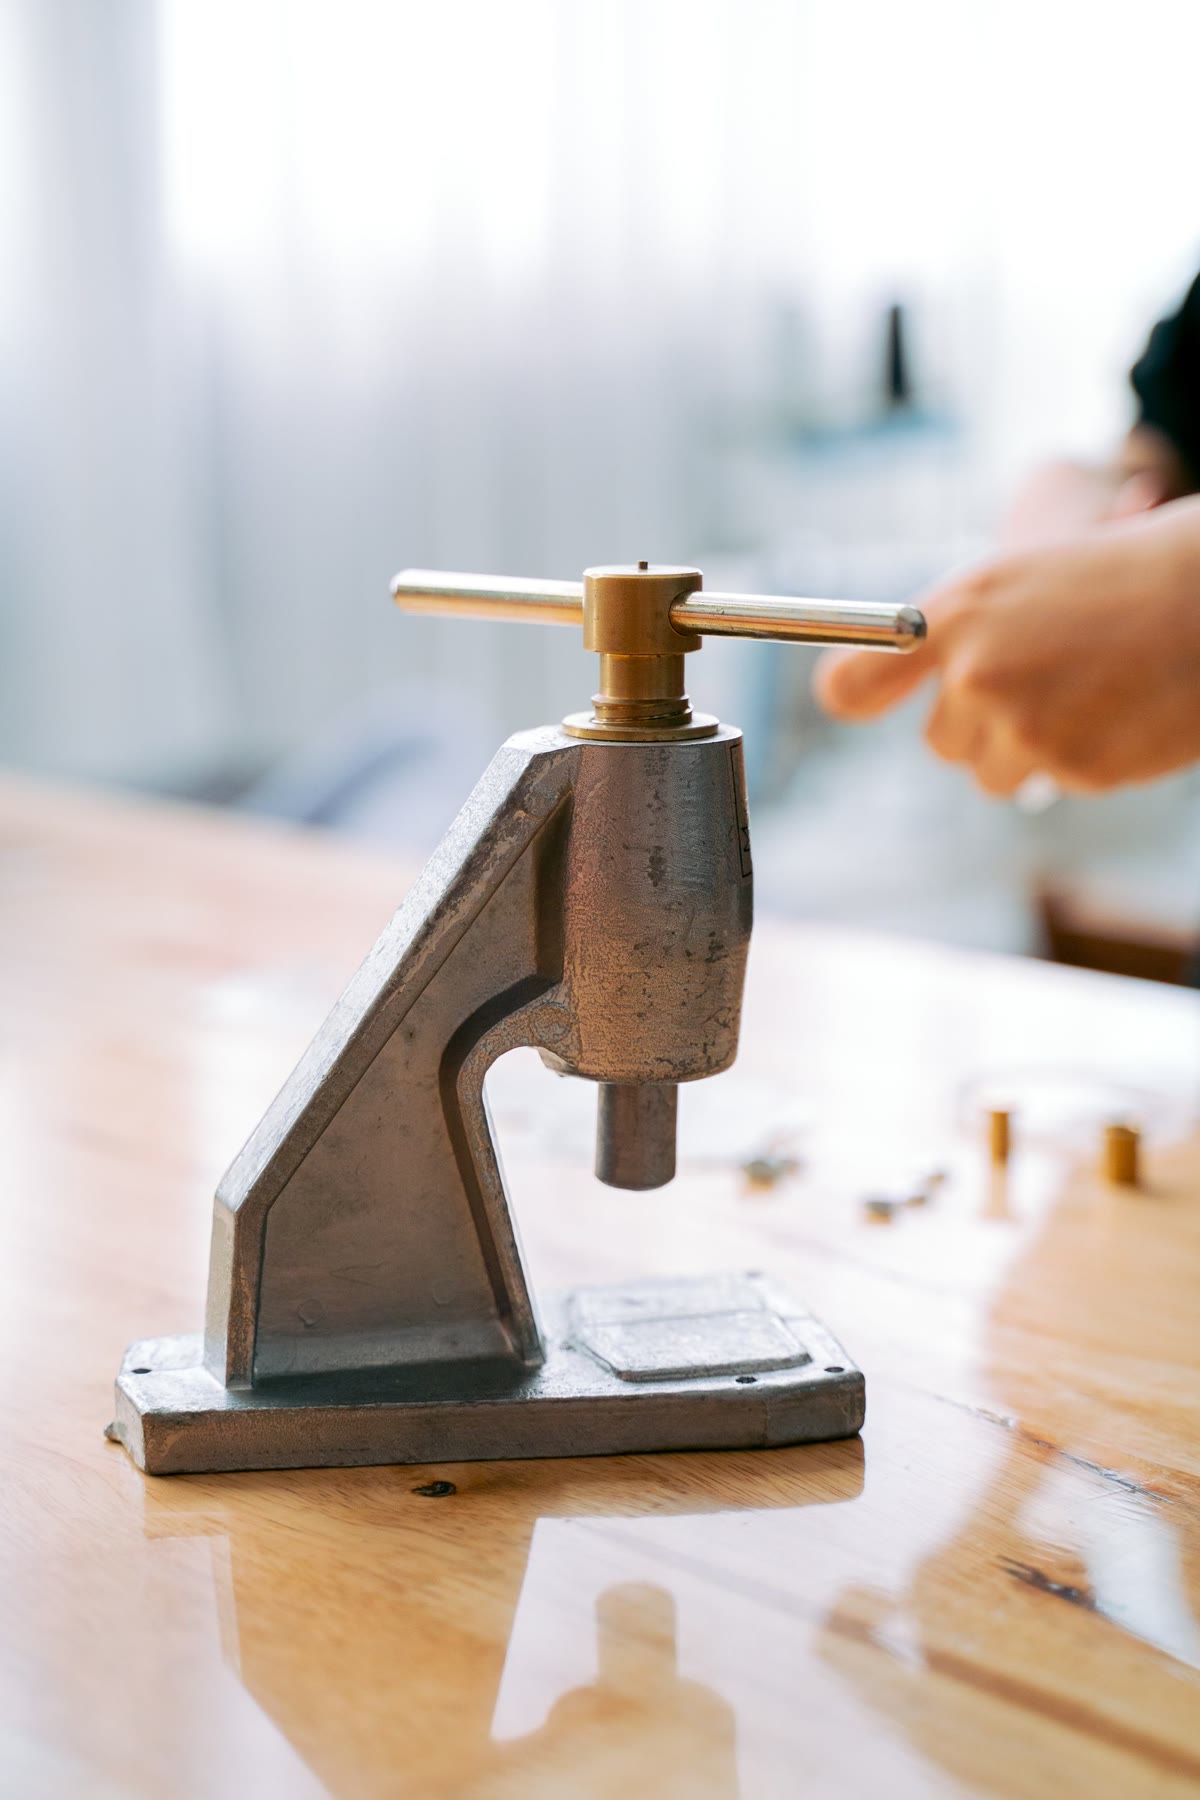
A master die is cut from hardened steel, tooth by tooth, until it matches the design exactly. It's this one die that lets us reproduce the same piece a hundred times over without the tenth copy looking any different from the first.
03 — Wax Injection
A Soft Copy of a Hard Idea
Molten wax is injected into the die under pressure, left to set for a few minutes, then eased out by hand — a near-perfect twin of the final piece, soft enough to hold yet firm enough to carry every detail forward.
04 — Wax Tree Assembly
Building a Tree to Feed the Fire
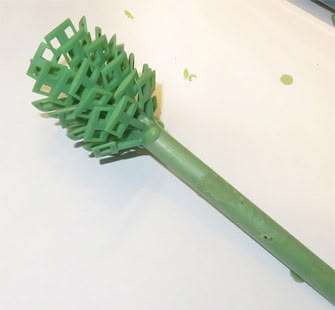
Each wax pattern is hand-soldered onto a central wax stem with a heated spatula, angled just so the metal will flow evenly later. A single tree can carry forty pieces or more, all destined to be cast in one pour.
05 — Investment Casting
Buried Before It's Born
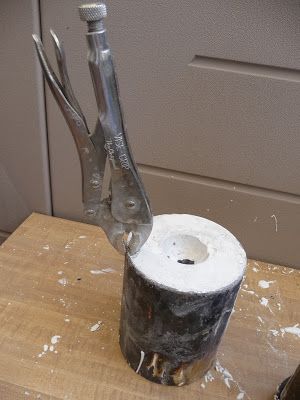
The wax tree is set inside a steel flask and flooded with a gypsum-bonded investment slurry under vacuum, pulling out every trapped air bubble. Left to cure for hours, it hardens into the exact negative of everything the wax was.
06 — Burnout
The Wax Keeps Its Promise, Then Leaves
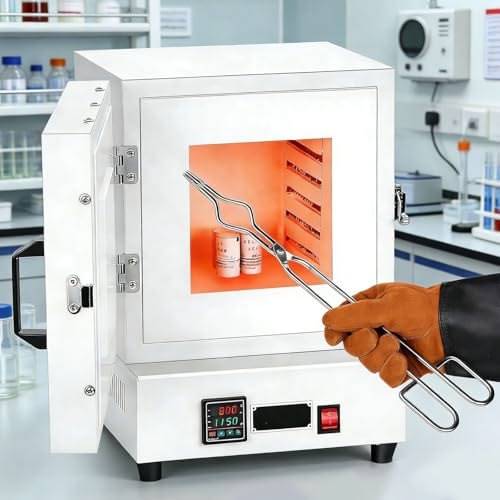
The flask climbs through the kiln in stages — past 150°C, then 370°C, on toward 730°C — over several unhurried hours. Every trace of wax melts and burns clean away, leaving a cavity that remembers its shape perfectly.
07 — Silver Melting
925 Finds Its Fire
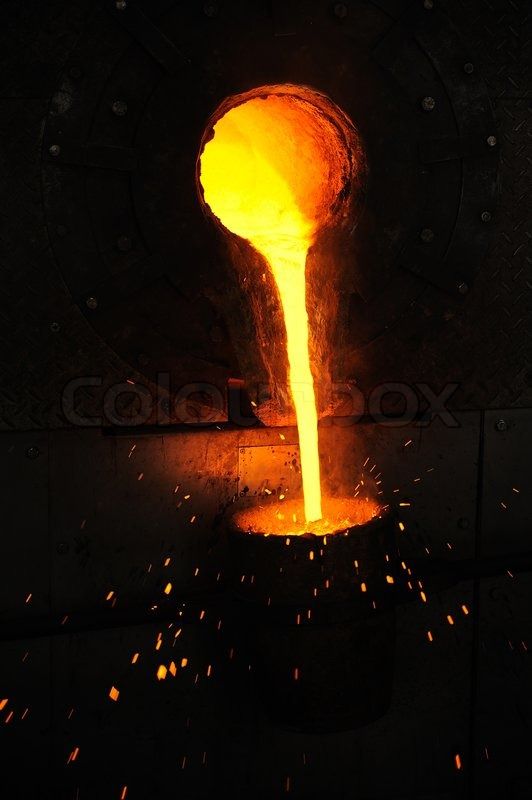
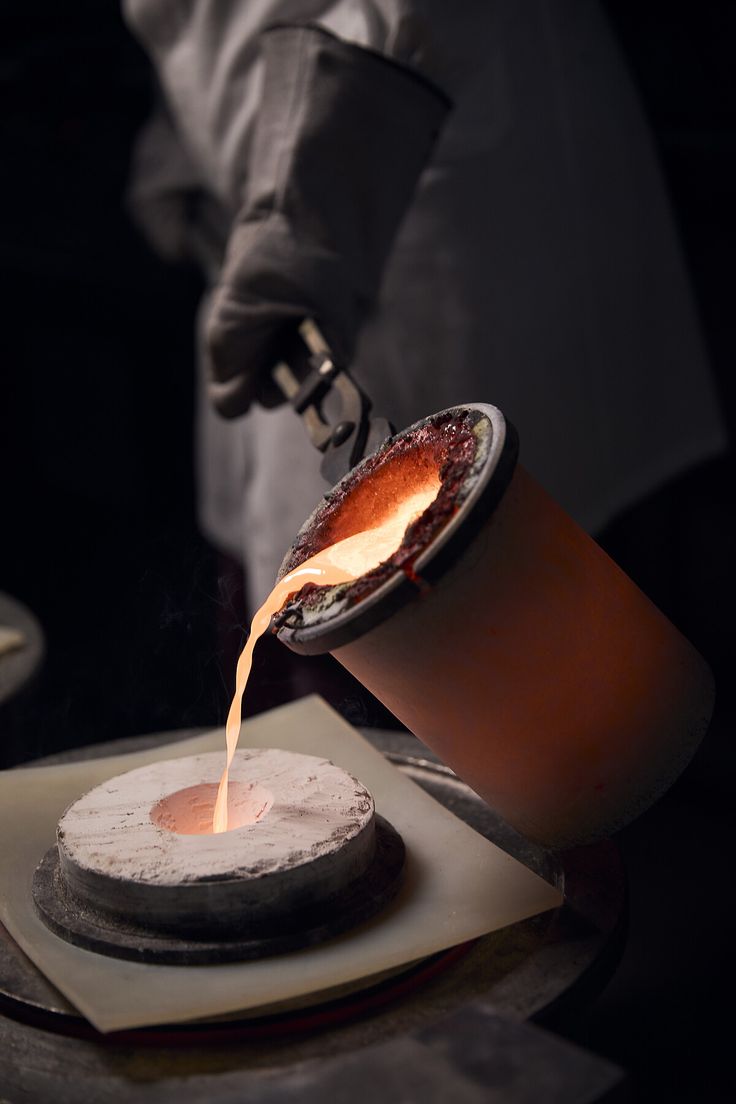
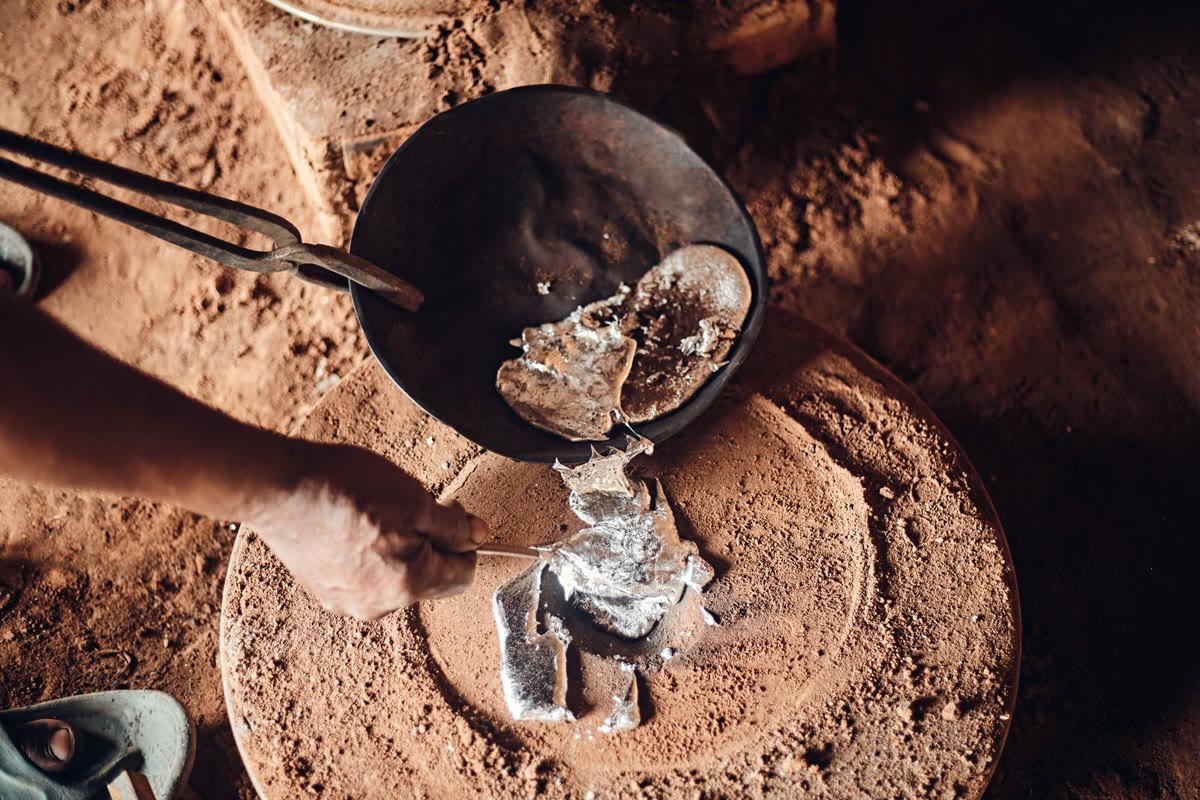
Sterling silver, alloyed to 92.5% purity for strength, is heated past 890°C until it turns liquid and mirror-bright. Misjudge the heat by even a little and the casting fails — so this step is timed by eye as much as by gauge.
08 — Vacuum Casting
Molten Silver Chases Every Corner
The still-glowing flask is locked onto the caster, and molten silver is pulled in by vacuum or flung in by centrifugal force — reaching every groove the wax once filled before it's given barely a minute to set.
09 — Quenching & Devesting
Freed From the Mould That Made It
The flask is plunged into cold water while still hot, and the shock shatters the investment on contact. What comes out is a blackened, unpolished silver tree — rough to look at, but already carrying the design drawn weeks ago.
10 — Sprue Cutting
Separated to Stand Alone
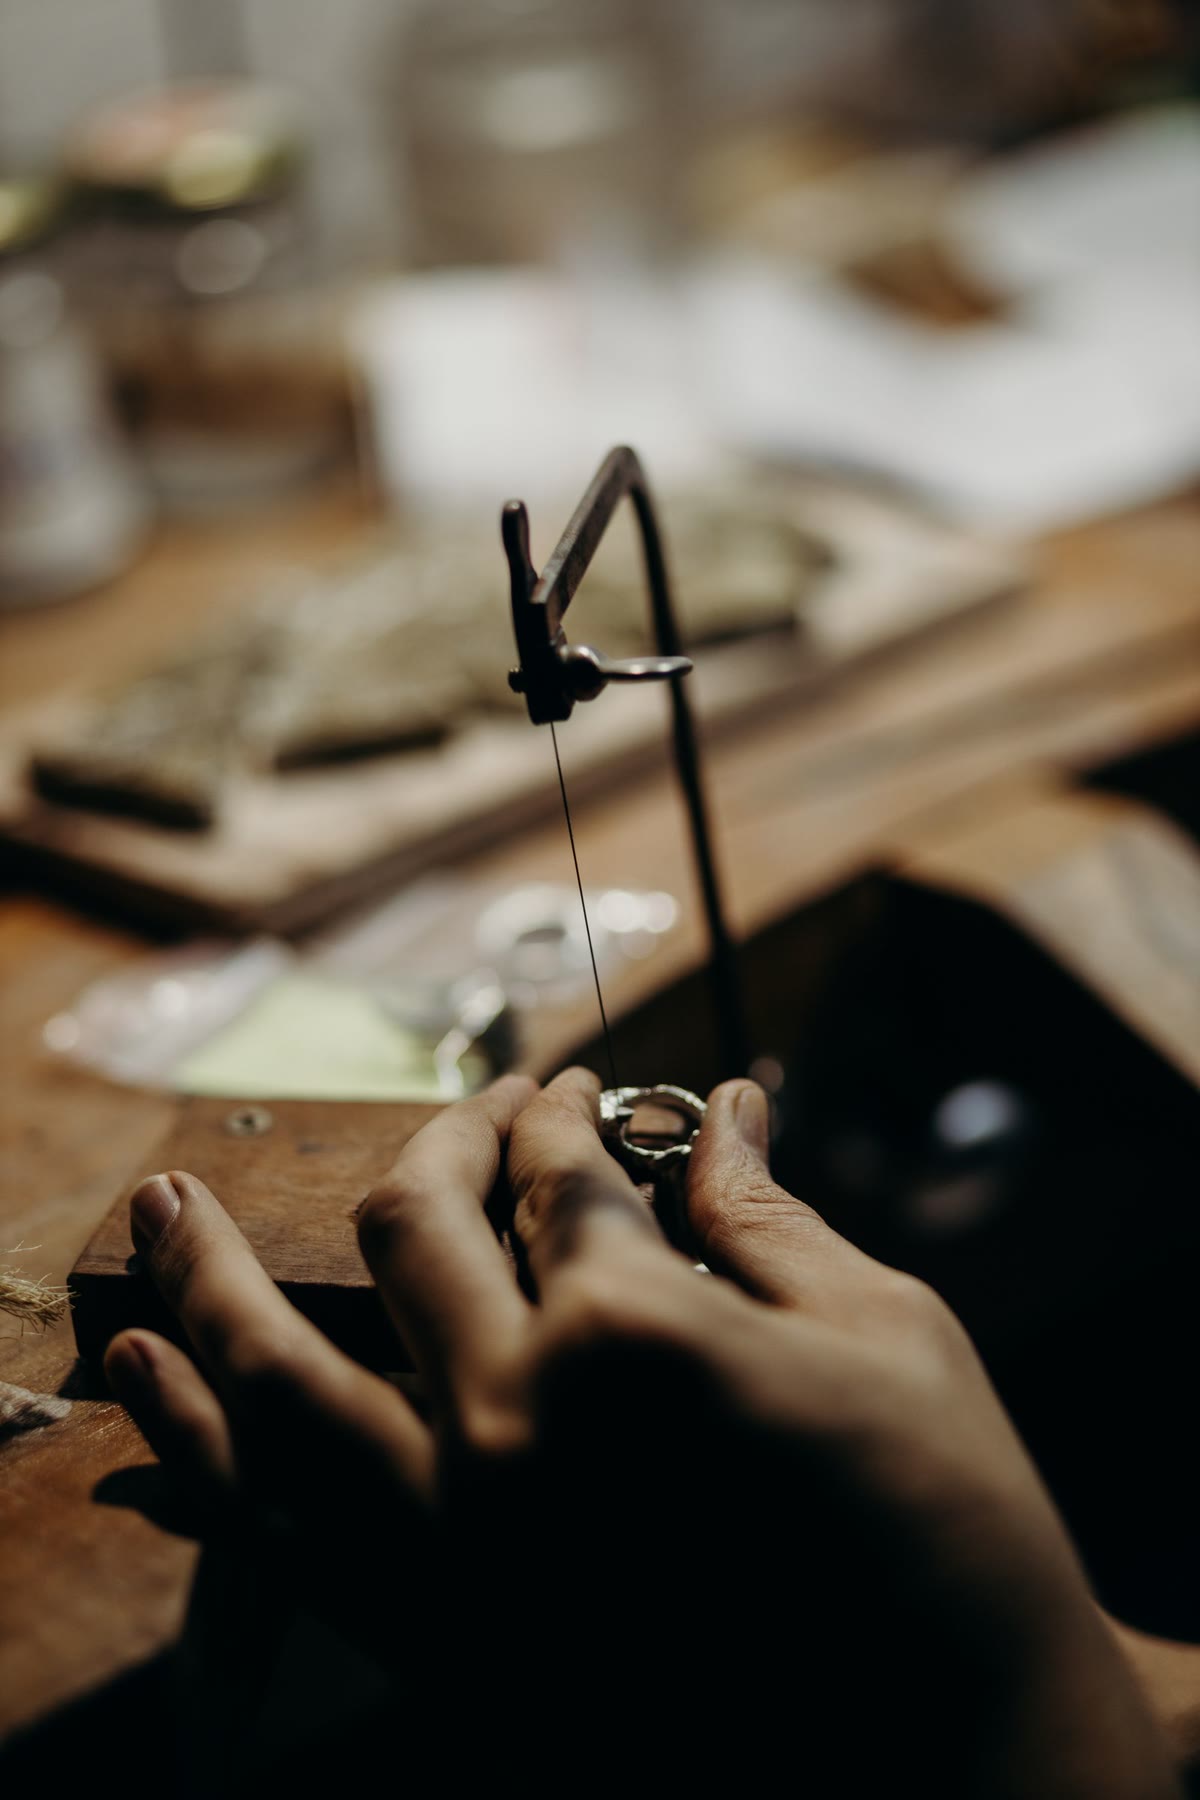
Each piece is cut away from the tree with a jeweller's saw, close enough to the join that almost no silver goes to waste. What's left of the sprue is filed flush by hand — the last trace of the tree it grew from.
11 — Assembly
Where Parts Become One Piece
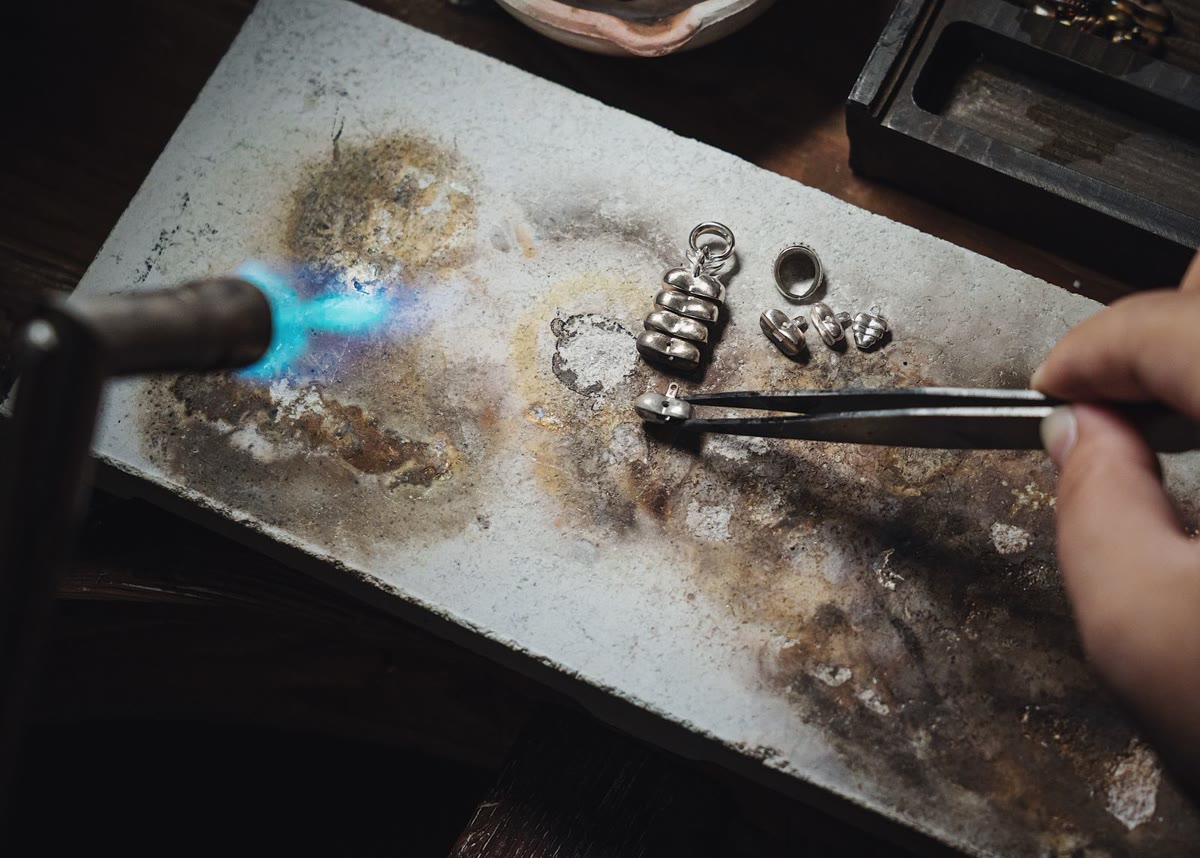
Clasps, jump rings, pin backs, and hinges are torch-soldered into place at just enough heat to fuse the joint without touching the metal around it. Loose components stop being parts here and start being jewellery.
12 — Filing & Fitting
Nothing Leaves Without Passing This
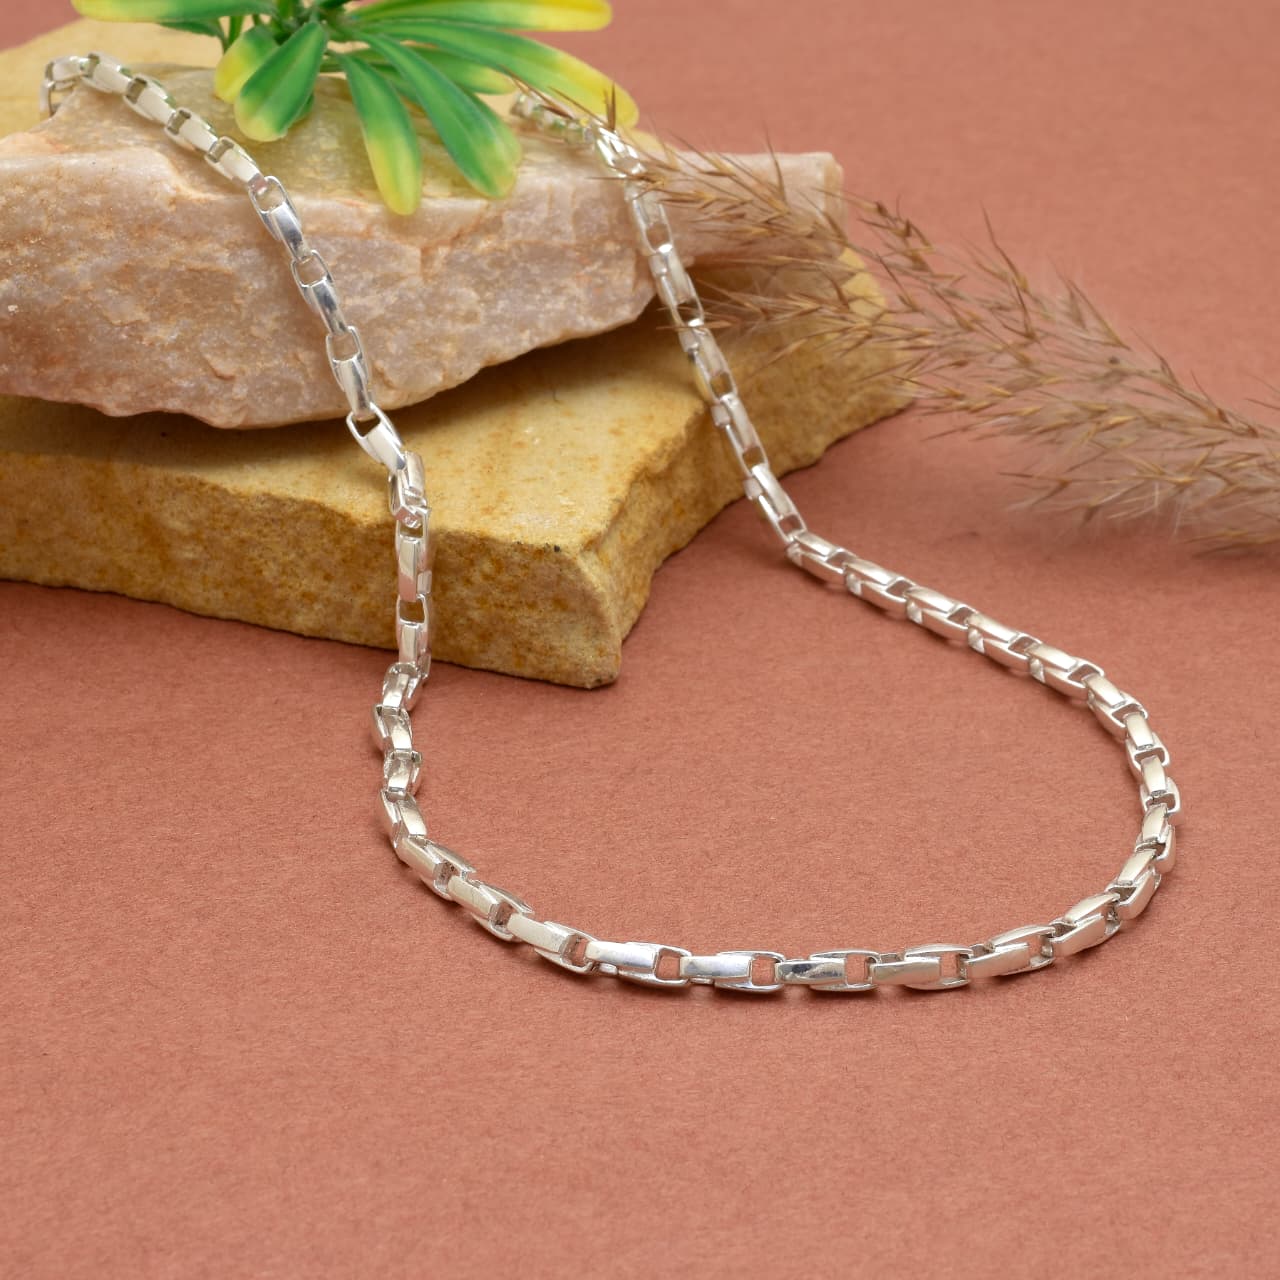
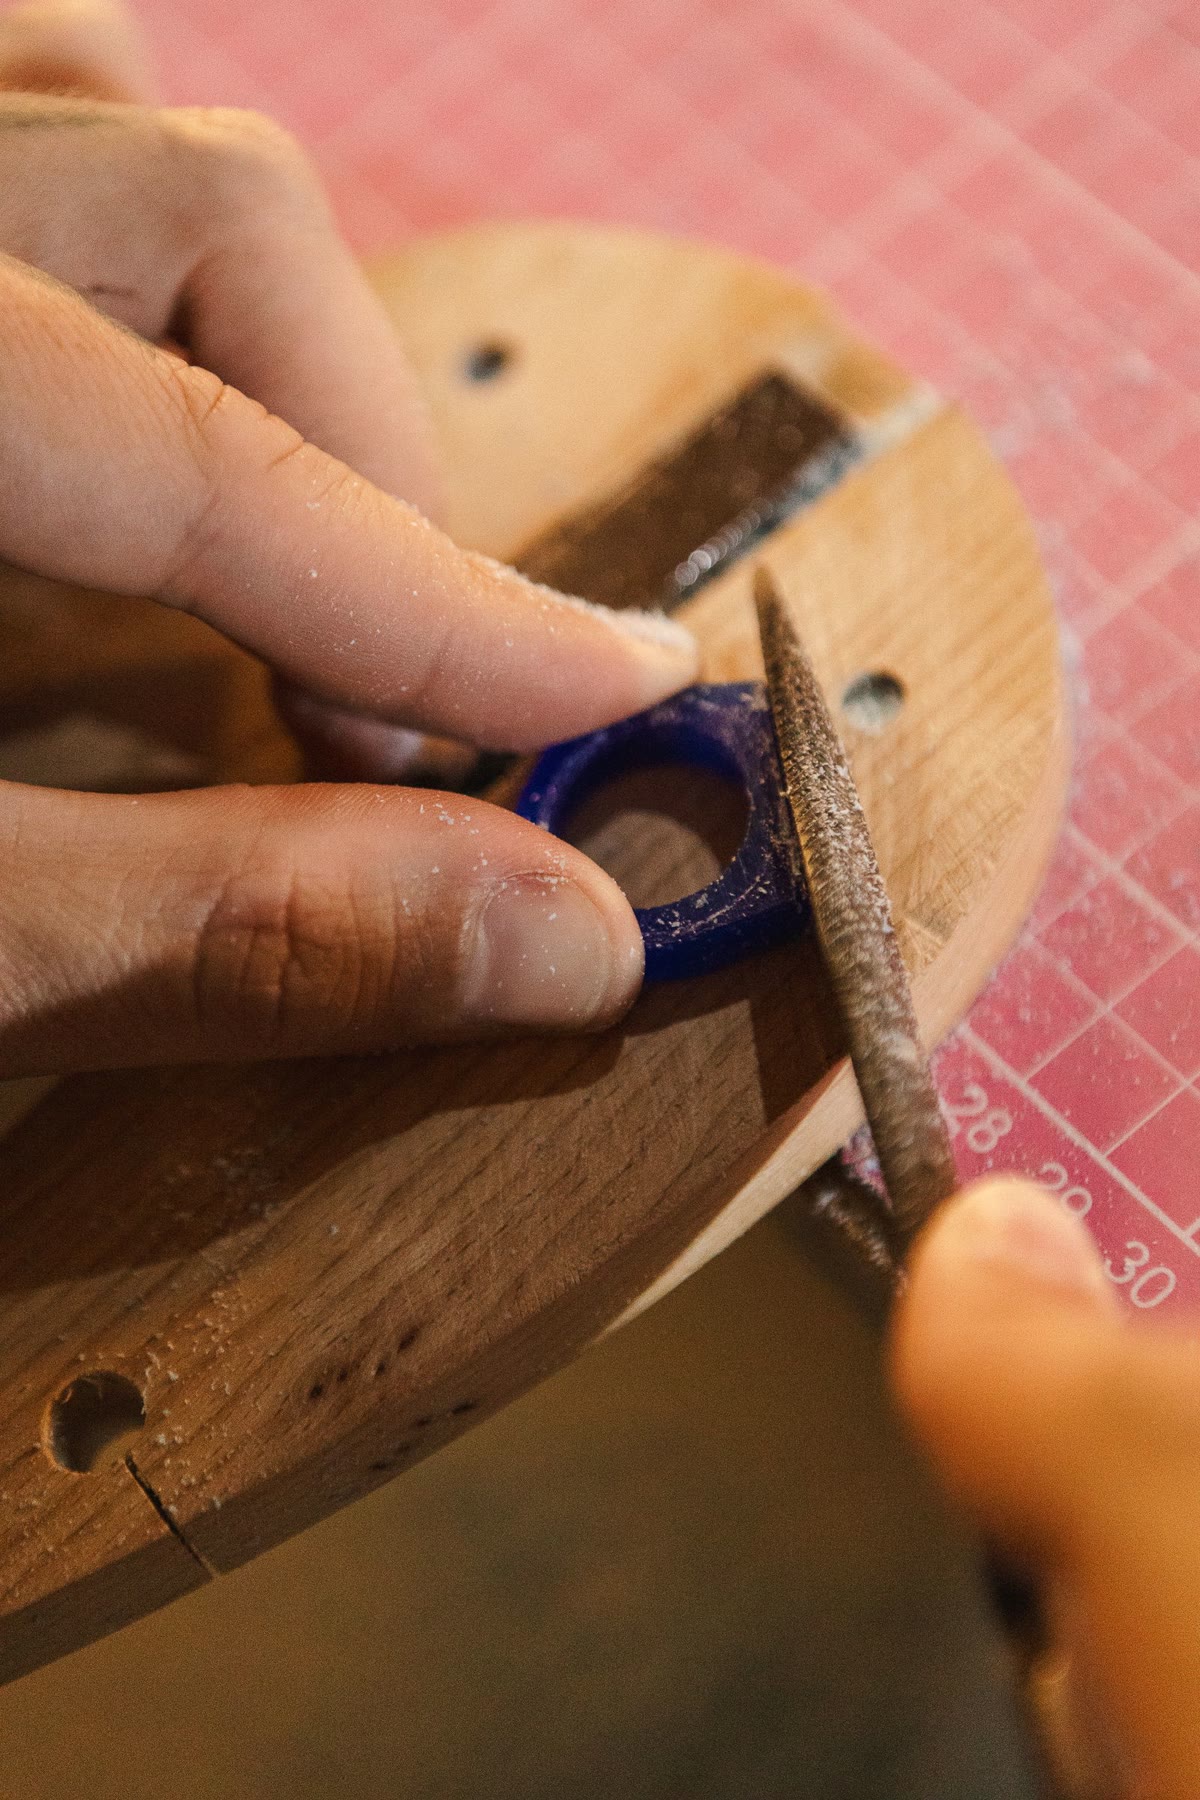
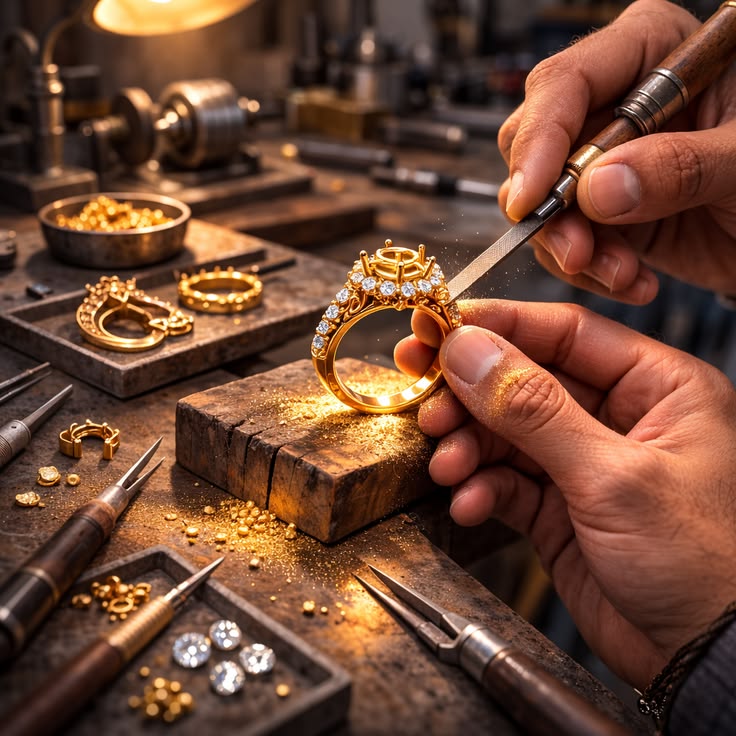
Every hinge is worked open and shut, every clasp clicked, every ring checked against its size gauge. Casting seams are filed away by hand until only smooth metal remains — comfort checked long before shine enters the picture.
13 — Tumble Finishing
The Rough Edges Give In First
Pieces spend close to an hour tumbling with fine steel pins in a magnetic finisher, reaching into grooves and joints no hand tool can. It won't shine yet — but every surface comes out even, ready for the polish that will.
14 — Polishing & Rhodium Plating
Ready to Leave Our Hands
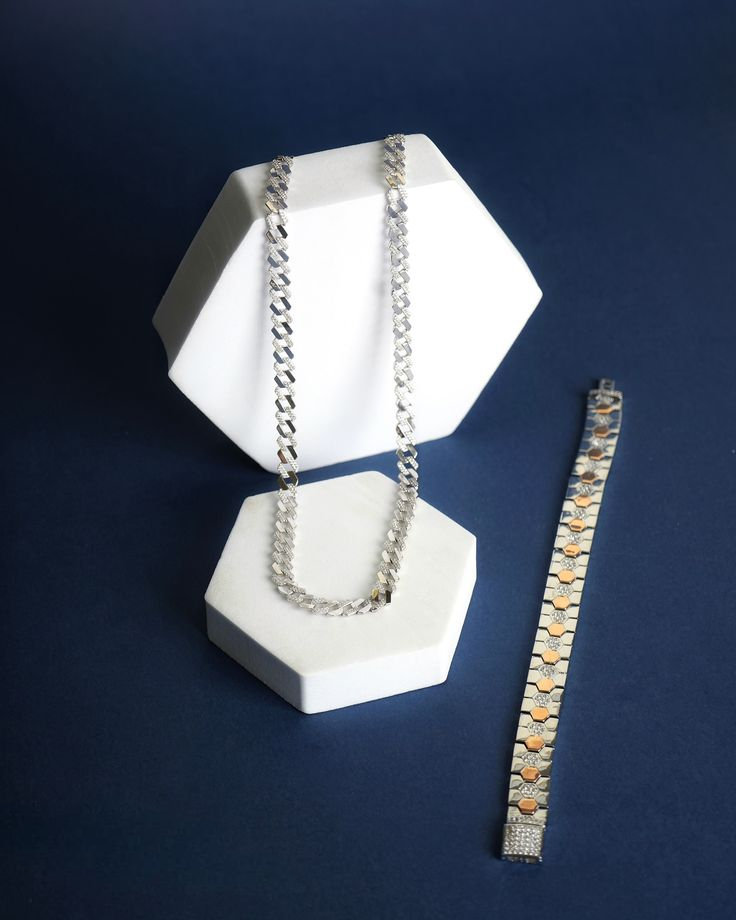
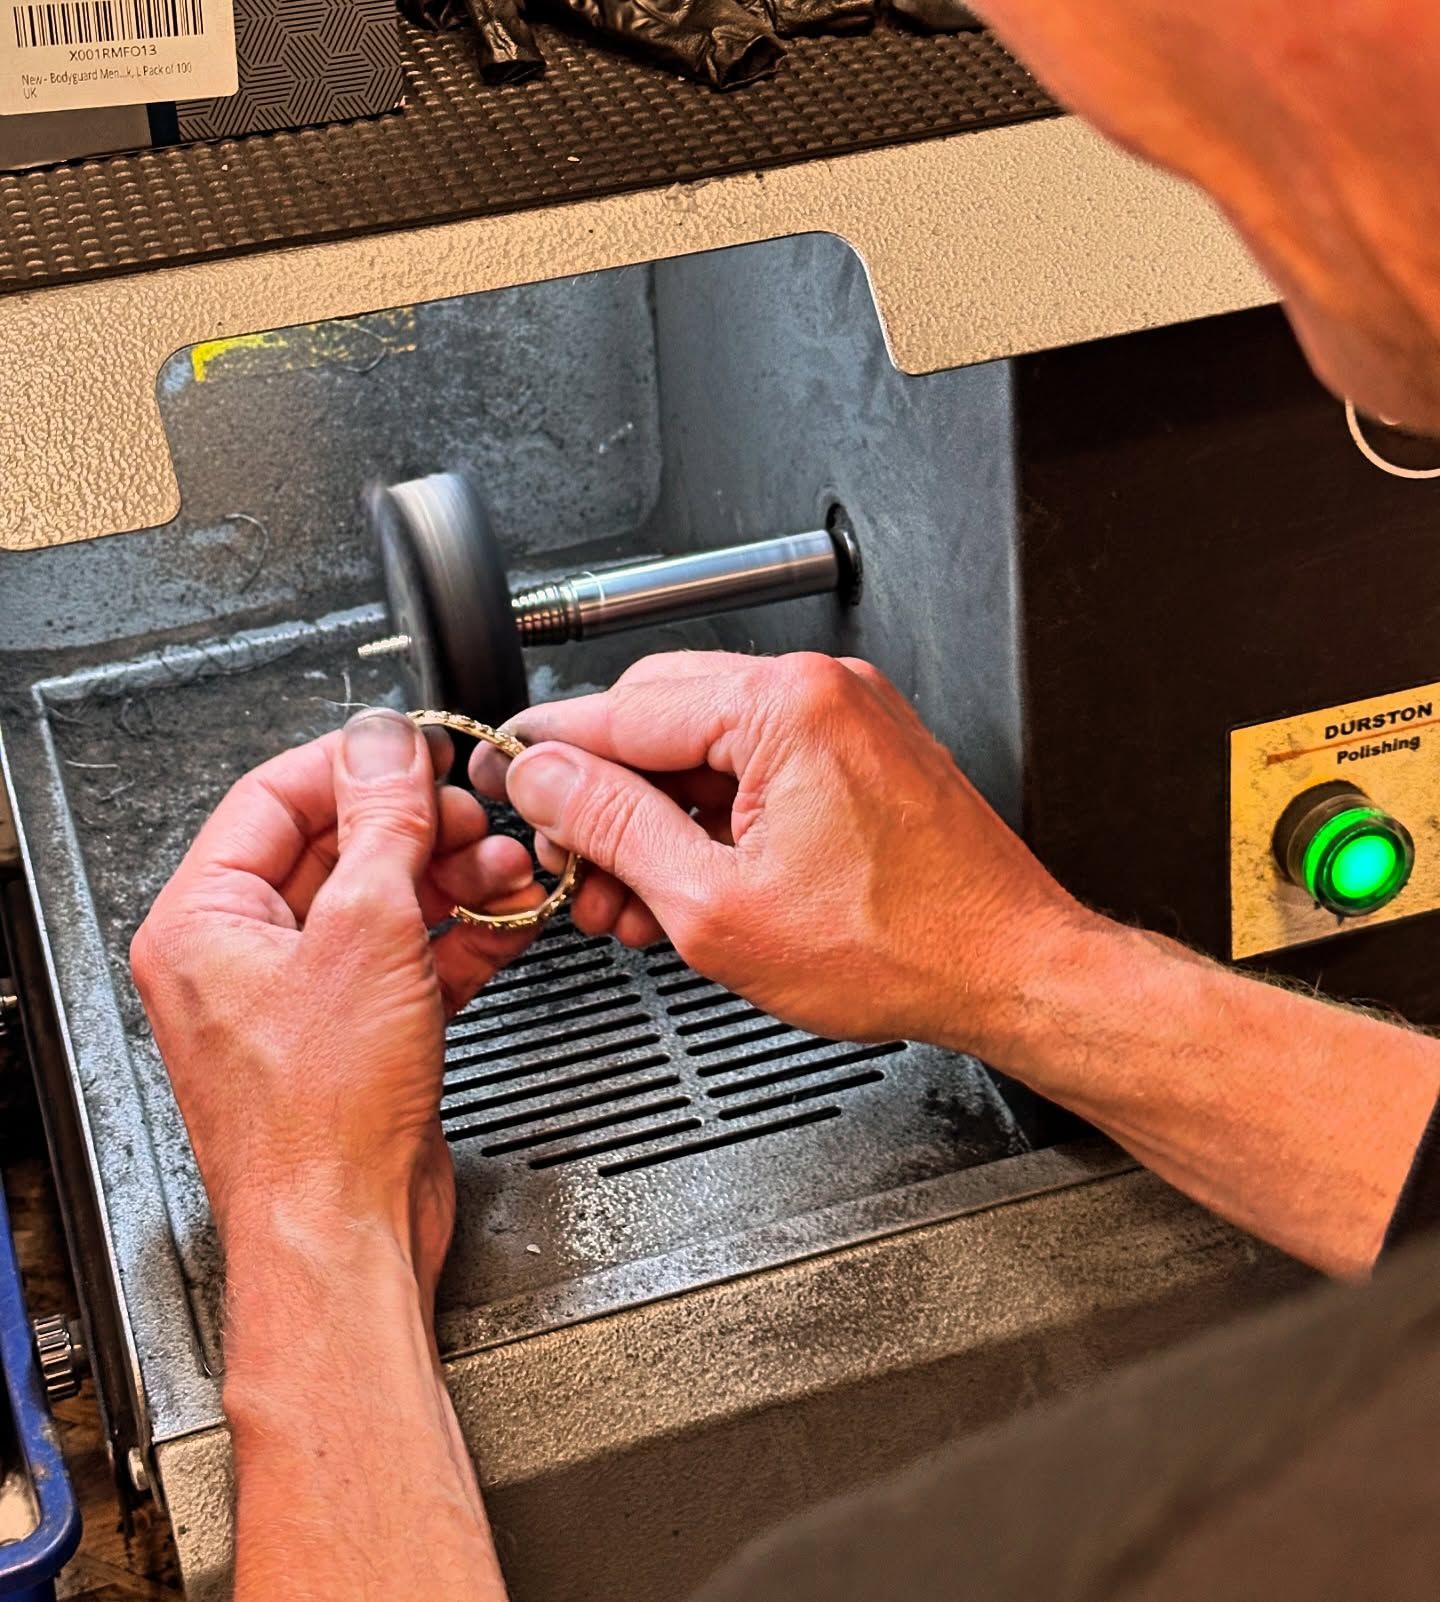
Each piece is hand-buffed against cloth mops loaded with polishing compound until it holds a mirror. A final rhodium plating locks that shine in and guards it against tarnish — the last touch before it becomes yours.